melatonin

Navigating Melatonin: Exploring Safety, Benefits, and Alternatives for Better Sleep

Introduction: In the quest for a good night’s sleep, many turn to melatonin, a hormone that plays a crucial role in regulating sleep-wake cycles. As its popularity grows, questions arise about its safety, effectiveness, and suitability for various age groups. In this comprehensive blog, we’ll delve into the world of melatonin, addressing its safety profile, potential benefits, usage for children, alternatives for both kids and adults, and exploring other sleep supplements as alternatives to melatonin.

Melatonin Safety: Melatonin is generally considered safe for short-term use in adults. However, it’s important to exercise caution and consult a healthcare professional before incorporating any supplement into your routine. Dosage, timing, and potential interactions with medications should be carefully evaluated. Please note that the U.S. Food and Drug Administration (FDA) does not regulate the safety or effectiveness of dietary supplements like melatonin and others.

Benefits of Melatonin: The following information was put out by The National Institutes of Health (NIH) “Melatonin is a hormone that your brain produces in response to darkness. It helps with the timing of your circadian rhythms (24-hour internal clock) and with sleep. Being exposed to light at night can block melatonin production. Melatonin supplements may help with certain conditions, such as jet lag, delayed sleep-wake phase disorder, some sleep disorders in children, and anxiety before and after surgery. Research suggests that melatonin plays other important roles in the body beyond sleep. However, these effects are not fully understood.”

Is Melatonin Safe for Kids? The safety of melatonin for children remains a topic of discussion. Before introducing melatonin or any supplement to a child’s regimen, consult a pediatrician. Understanding the underlying causes of a child’s sleep issues is essential, as melatonin might not address the root problem.

Melatonin Alternatives for Kids: If you’re hesitant about melatonin for your child, consider these alternatives:

  • Consistent Bedtime Routine: Establish a calming and consistent pre-sleep routine to signal to the body that it’s time to wind down.
  • Limit Screen Time: Reduce exposure to screens before bedtime, as the blue light emitted can interfere with the body’s natural sleep signals.
  • Relaxation Techniques: Teach your child relaxation exercises like deep breathing or gentle stretches to help induce sleepiness.

Melatonin Alternatives for Adults: For adults exploring options beyond melatonin, consider these alternatives:

  • Valerian Root: A herbal supplement known for its relaxation-inducing properties.
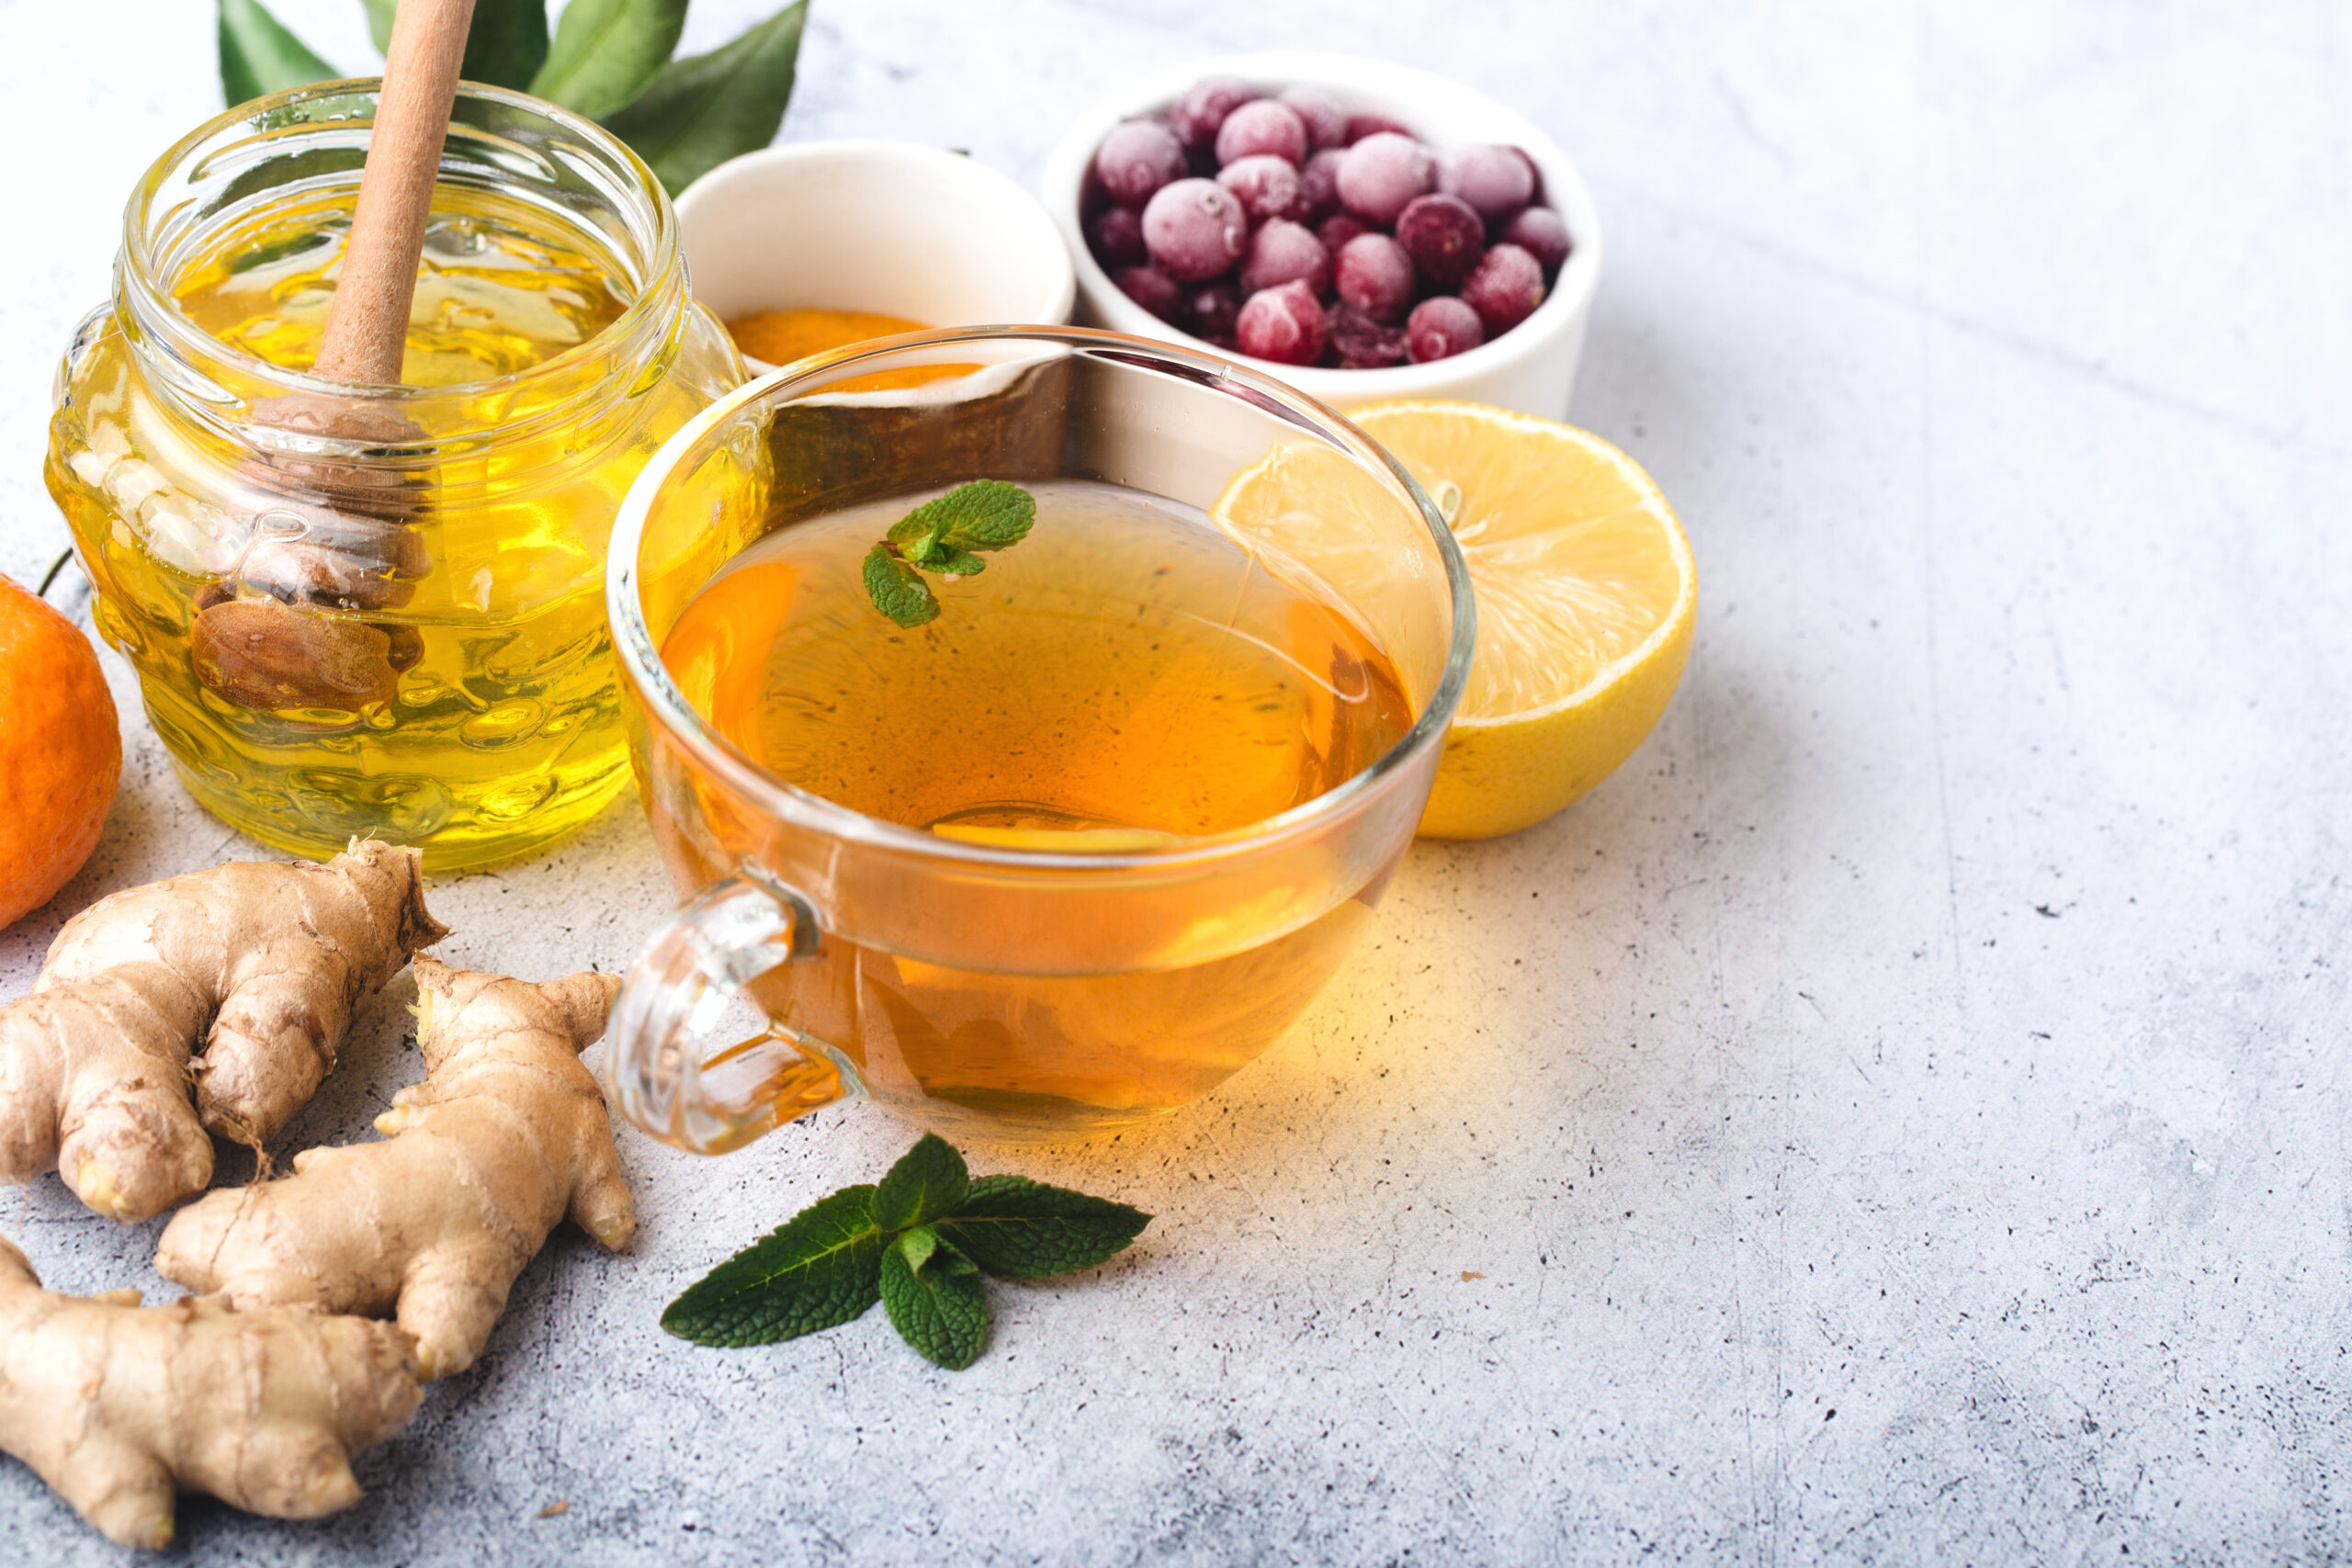
  • Chamomile Tea: A warm cup of chamomile tea before bed can have a calming effect and promote relaxation.
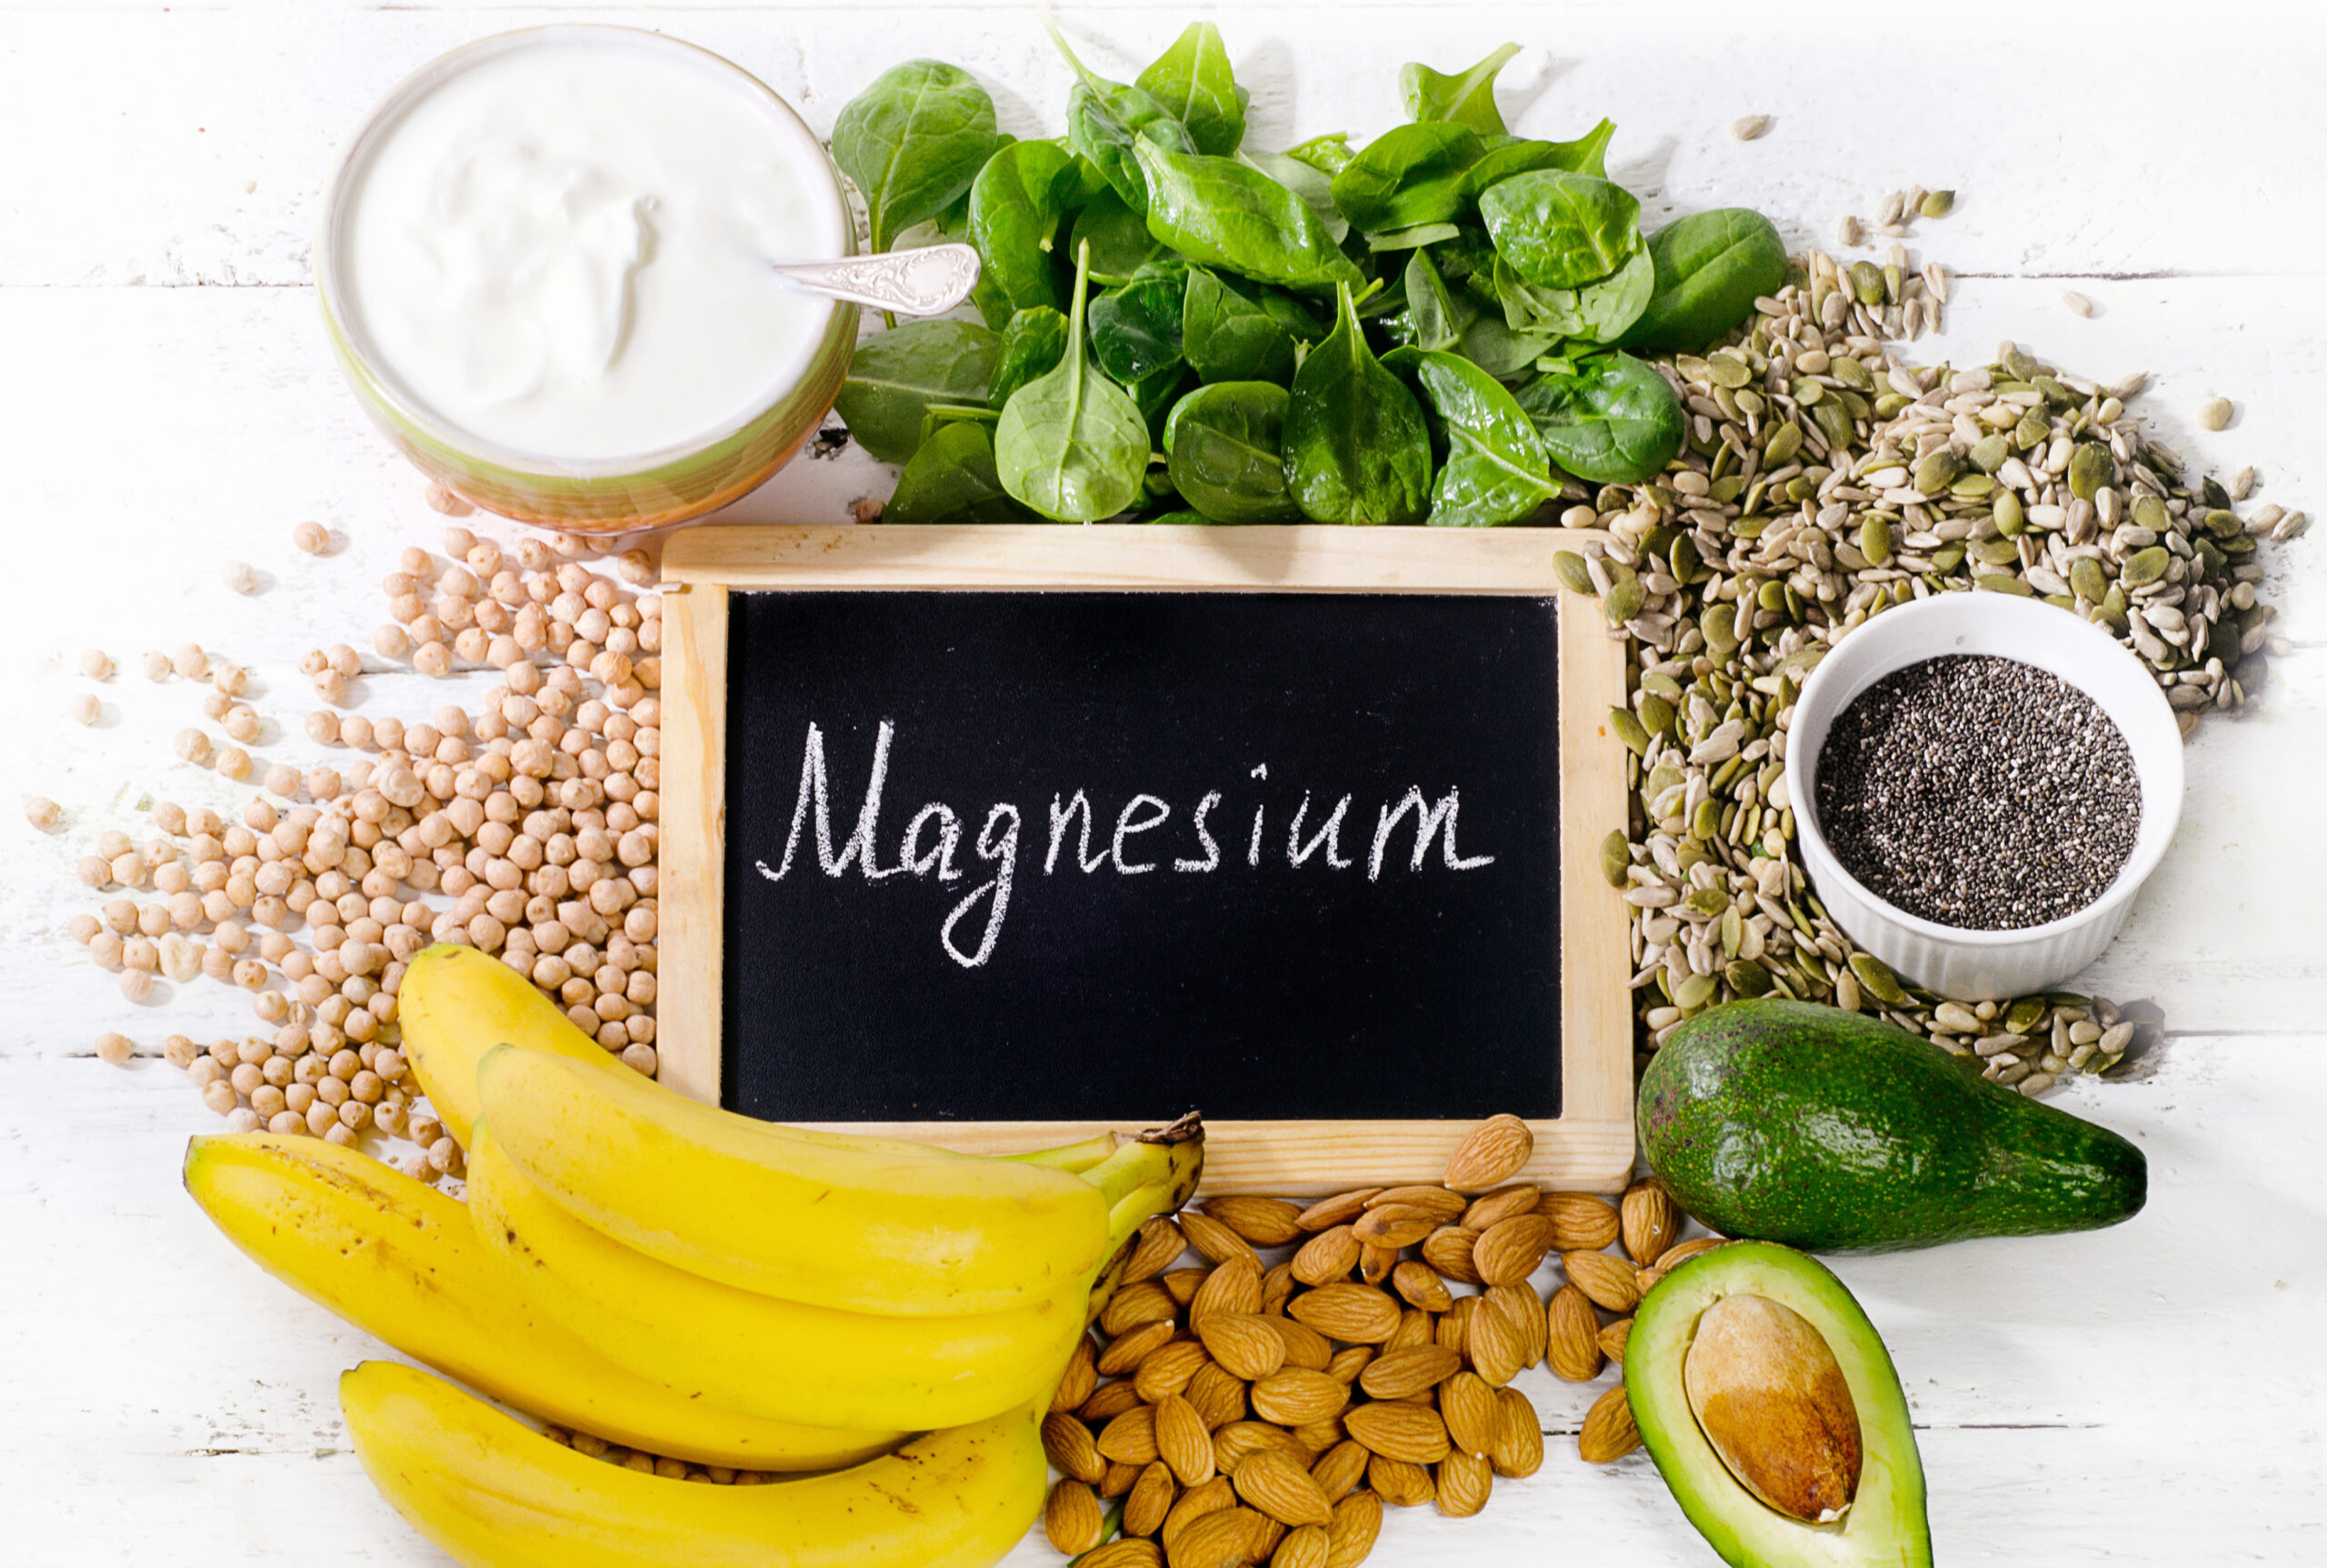
  • Magnesium: Adequate magnesium intake is linked to improved sleep quality. Incorporate magnesium-rich foods or supplements as needed.
  • Lifestyle Changes: Adopting healthier lifestyle habits, such as balanced diet, regular exercise, and stress management, can significantly impact sleep.

Sleep Supplements Alternatives to Melatonin: If you’re looking for alternative sleep supplements:

  • L-Theanine: An amino acid found in tea leaves, known for its calming effects on the mind.
  • GABA: A neurotransmitter that promotes relaxation and is linked to better sleep.
  • 5-HTP: A precursor to serotonin, potentially aiding in mood regulation and sleep improvement.

Conclusion: Melatonin, as a sleep aid, presents potential benefits and considerations. Approach its usage with careful consideration, consulting healthcare professionals as needed. Remember that sleep issues are complex, and a holistic approach is often the most effective. Whether it’s establishing a bedtime routine, limiting screen time, or exploring alternative supplements, the journey to better sleep involves personalized strategies. Prioritize well-informed decisions, guided by professional advice, to enhance your sleep quality and overall well-being.

gummy-vitamins

Navigating Kosher Gummy Vitamins: Prioritizing Essential Nutrients

Introduction:

Gummy vitamins have become increasingly popular due to their appealing taste and texture, making them an enjoyable way to supplement your diet with essential nutrients. However, it’s essential to recognize the potential pitfalls associated with gummy vitamins, including limitations in nutritional content and the presence of sugar, food additives, and low-quality and low-dosage nutrients. In this blog post, we’ll explore these concerns to provide a comprehensive understanding of gummy vitamins. we’ll explore the key considerations when selecting kosher gummy vitamins, including the choice between kosher gelatin and kosher pectin, the importance of checking the ingredient list, and the pros and cons of gummy vitamins.

  1. Essential Nutrients Matter Most:

When choosing any type of vitamin supplement, the most critical factor is ensuring that it provides the essential nutrients your body needs. Look for kosher gummy vitamins that contain a well-rounded combination of vitamins and minerals, such as vitamin C, vitamin D, B vitamins, calcium, and iron. Prioritize the nutritional content to support your overall health and well-being. The first aspect to grasp about gummy vitamins is their restricted ability to contain significant amounts of nutritional compounds. The gummy format imposes size and volume limitations, which restrict the quantity of nutrients that can be included. Consequently, gummies cannot provide the same level of nutritional compounds as other supplement forms.

  1. Kosher Gelatin or Kosher Pectin?

a) Kosher Gelatin: Traditional gummy vitamins are often made with gelatin derived from animal sources, typically pork or beef. However, kosher gelatin is sourced from kosher slaughtered and processed bovine sources or mostly kosher species of fish.

b) Kosher Pectin: Pectin is a plant-based alternative to gelatin that is derived from fruits, usually citrus peels or apples. Kosher pectin is a vegan-friendly option that provides an alternative for individuals who follow a kosher diet but prefer to avoid animal-derived ingredients. It’s important to note that not all kosher gummy vitamins are pectin-based, so check the label to confirm the specific ingredients used.

  1. Check the Ingredient List and the amounts:

Always review the ingredient list of gummy vitamins, even if they are labeled as kosher. Look for kosher certifications, such as a symbol or seal from a reliable kosher certification agency, to ensure the product meets the necessary standards. Additionally, be mindful of any potential allergens or additives that may not align with your dietary needs or preferences.

  1. Limited Nutritional Content:

Gummy vitamins are constrained in terms of the amount and variety of nutritional compounds they can provide. Their size and volume limitations prevent them from containing significant levels of nutrients, particularly major minerals and certain nutritional compounds that require higher dosages for optimal efficacy. This can result in a lower overall nutritional value compared to other supplement forms.

  1. High Sugar Content:

One common concern with gummy vitamins is their potential high sugar content. To enhance taste and make them more appealing, gummy vitamins often contain added sugars or sweeteners. Excessive sugar consumption can have negative effects on overall health, including increased risk of weight gain, tooth decay, and blood sugar imbalances. It’s important to check the nutrition label and choose gummy vitamins with lower sugar content or consider sugar-free alternatives. Please note that there are now brands that offer Sugar-Free gummies.

  1. Food Additives:

Gummy vitamins may also contain various food additives, such as artificial flavors, colors, and preservatives. These additives are used to improve the taste, appearance, and shelf life of the gummies. However, some individuals may be sensitive to certain additives or prefer to avoid them due to potential health concerns. Reading the ingredient list and opting for gummy vitamins with minimal additives can help mitigate these concerns.

  1. Gummy Vitamin Pros and Cons:

Pros:

  • Enjoyable and easy to consume, making them suitable for those who have difficulty swallowing pills or tablets.
  • Pleasant taste and texture can make taking daily vitamins more enjoyable, especially for children.
  • Can serve as a convenient alternative for individuals who struggle with the taste of liquid or chewable tablets.

Cons:

  • Gummy vitamins may contain added sugars or sweeteners, so be mindful of your overall sugar intake.
  • The texture and taste may not be appealing to everyone.
  • Some gummy vitamins may not provide the same nutrient potency as their pill or tablet counterparts.

Conclusion:

While gummy vitamins offer a convenient and enjoyable way to supplement your diet with certain nutrients, it’s crucial to be aware of their potential pitfalls. Gummies may have limited nutritional content, high sugar content, and the presence of food additives. Additionally, the quality and dosage of nutrients can vary. When choosing gummy vitamins, prioritize options with higher nutrient quality, lower sugar content, and minimal additives. It’s advisable to consult with a healthcare professional or registered dietitian to ensure your chosen gummy vitamins align with your individual dietary needs and health goals.

omega-3

The Best Omega-3 Rich Food Sources

Introduction: Omega-3 fatty acids are a type of essential fats that play a crucial role in maintaining overall health. These fats offer numerous health benefits, including supporting heart health, and supporting brain function. While omega-3 fatty acids can be obtained from both plant and animal sources, it is important to ensure an adequate intake in your diet. In this article, we will explore the best food sources of omega-3, its health benefits, recommended daily intake, and options for kosher omega-3 supplements.

What Are Omega-3 Fatty Acids? Omega-3 fatty acids are polyunsaturated fats that are vital for our body’s functioning. They are categorized into three main types:
eicosapentaenoic acid (EPA),
docosahexaenoic acid (DHA), and
alpha-linolenic acid (ALA).
EPA and DHA are primarily found in fatty fish, while ALA is found in plant-based sources such as flaxseeds, chia seeds, and walnuts. These fatty acids play a critical role in maintaining cell membrane health and supporting various bodily functions.

Health Benefits of Omega-3 Foods:

  1. Heart Health: Omega-3 fatty acids are known to help support normal triglyceride levels, and support your heart health by helping to maintain healthy blood pressure.
  2. Brain Health: DHA, a type of omega-3, is a key component of brain tissue and is important for cognitive function and mental health.
  3. Eye Health: DHA is present in high concentrations in the retina, making omega-3s important for maintaining good vision and reducing the risk of age-related macular degeneration.

How Much Omega-3 Do I Need? The recommended daily intake of omega-3 fatty acids varies depending on age, gender, and individual health conditions. Generally, the American Heart Association recommends consuming at least two servings of fatty fish per week, providing 500 mg of EPA and DHA combined. For individuals who do not consume fish, an alternative would be to include plant-based sources of ALA and consider omega-3 supplements.

Omega-3 Rich Foods:

  1. Fatty Fish: Salmon, mackerel, sardines, trout, and tuna are excellent sources of EPA and DHA.
  2. Flaxseeds and Chia Seeds: These small seeds are rich in ALA and can be added to cereals, smoothies, or baked goods.
  3. Walnuts: A handful of walnuts provides a good amount of ALA and other beneficial nutrients.
  4. Soybeans and Tofu: These plant-based sources offer omega-3s and are suitable for vegetarians and vegans.
  5. Leafy Green Vegetables: Spinach, kale, and Brussels sprouts contain ALA, although the conversion to EPA and DHA in the body is less efficient.

Kosher Omega-3 Supplements: We have kosher-certified omega-3 supplements available. These supplements are typically derived from fish or algae sources, ensuring they meet the kosher dietary requirements. These supplements come in different forms such as Capsules, liquid, and chewables, offering convenience and flexibility in consumption.

Another option we have is: Kosher Cod Liver Fish Oil: One popular type of omega-3 supplement is cod liver fish oil. Derived from the livers of codfish, this supplement provides a concentrated source of omega-3 fatty acids, including EPA and DHA, along with additional nutrients such as vitamins A and D. The benefits of cod liver fish oil include:

  1. Omega-3 Content: Cod liver fish oil is rich in EPA and DHA, which are crucial for supporting heart health, reducing inflammation, and promoting brain function.
  2. Vitamin A: Cod liver fish oil is a natural source of vitamin A, which is important for vision, immune function, and cell growth.
  3. Vitamin D: Cod liver fish oil naturally contains vitamin D, which plays a key role in bone health, immune function, and overall well-being.

Bottom Line Takeaway: Omega-3 fatty acids are essential for overall health, particularly heart and brain health. Incorporating omega-3-rich foods

collagen

Unlocking the Power of Kosher Collagen: Exploring the Benefits and Varieties.

Introduction: Collagen, the most abundant protein in our bodies, plays a vital role in maintaining healthy skin, joints, and connective tissues. As the demand for collagen supplements continues to rise, it’s important to understand the various types available and their potential benefits. In this guide, we delve into the world of kosher collagen, exploring the different varieties sourced from fish and bovine, as well as the convenient forms of powders, capsules, and gummies. Discover the benefits of each option and find the perfect match for your collagen supplementation needs.

  1. The Beauty of Fish Collagen:
    • A kosher option: Exploring fish-derived collagen for individuals adhering to kosher dietary practices.
    • Promoting radiant skin: Unveiling the skin-enhancing properties of fish collagen, particularly Type I and Type III collagen.
    • Supporting joint health: How fish collagen, including Type II collagen, can alleviate joint discomfort and improve mobility.
  2. Harnessing the Strength of Bovine Collagen:
    • Understanding bovine collagen as a kosher alternative for collagen supplementation.
    • Enhancing skin elasticity: Exploring the ability of bovine collagen, primarily Type I and Type III collagen, to promote youthful-looking skin.
    • Strengthening bones and joints: Unraveling the potential of bovine collagen, including Type II collagen, to support bone density and joint health.
  3. The Versatility of Collagen Powders:
    • Convenient and customizable: Exploring the advantages of collagen powders for different dietary preferences.
    • Mixing it up: Discovering innovative ways to incorporate collagen powders into your daily routine.
    • Targeted benefits: Highlighting how collagen powders, containing various types of collagen, can be tailored for specific health goals.
  4. Convenience in Capsules and Tablets
    • On-the-go collagen supplementation: The ease and portability of collagen capsules, often containing a combination of collagen types.
    • Measured doses: Understanding the standardized collagen content in capsule form, offering a consistent intake of multiple collagen types.
    • Finding the right fit: Considering lifestyle factors when opting for collagen capsules to ensure convenience and effectiveness.
  5. Delightful Gummies with Collagen:
    • A fun twist on collagen supplementation:
    • Flavorful and chewable: The appeal of collagen gummies for individuals who struggle with pills, providing an enjoyable way to consume collagen.
    • Navigating sugar content: Considering the trade-off between taste and nutritional profile when choosing collagen gummies.

Conclusion: Collagen supplementation offers a myriad of benefits, and with the availability of kosher collagen sourced from fish and bovine, whether you prefer collagen in powder, capsule, or gummy form, there are options to suit every lifestyle. By understanding the

different types of collagen—Type I, Type II, Type III, and Type IV—and their specific characteristics and functions, you can make an informed choice about the collagen product that best aligns with your needs and desired outcomes.

  1. Type I Collagen:
    • Function: Type I collagen provides structure and support to various tissues, including the skin, bones, tendons, ligaments, and organs.
    • Benefits: It promotes skin elasticity, reduces wrinkles, supports bone strength, and improves overall tissue health and integrity.
    • Sources: Fish collagen and bovine collagen are common sources of Type I collagen.
  2. Type II Collagen:
    • Function: Type II collagen is primarily found in cartilage and plays a crucial role in maintaining healthy joints and supporting joint flexibility.
    • Benefits: It helps alleviate joint pain, reduces inflammation, and supports joint health and mobility.
    • Sources: Fish collagen and bovine collagen can provide Type II collagen for supplementation.
  3. Type III Collagen:
    • Function: Type III collagen works in conjunction with Type I collagen to provide structural support to the skin, blood vessels, and internal organs.
    • Benefits: It contributes to skin elasticity, helps maintain the integrity of blood vessels, and supports organ health.
    • Sources: Fish collagen and bovine collagen can contain Type III collagen.
  4. Type IV Collagen:
    • Function: Type IV collagen is mainly found in the basement membranes of cells and plays a crucial role in maintaining tissue integrity and filtration functions.
    • Benefits: It supports the health and function of various tissues, including the kidneys, lungs, and blood vessels.
    • Sources: Fish collagen and bovine collagen can contain traces of Type IV collagen.

Understanding the different types of collagen and their specific benefits can help you choose the right product for your specific goals. Whether you opt for fish collagen or bovine collagen, in the form of powders, capsules, or gummies, incorporating kosher collagen into your daily routine can provide a wide range of benefits for your skin, joints, and overall well-being.

Remember to consult with a healthcare professional or a registered dietitian before adding any new supplements to your routine, especially if you have any underlying health conditions or are taking medications.

sourdough

Sourdough Challah Benefits and Recipe

Introduction: Sourdough bread has gained immense popularity for its tangy flavor, chewy texture, and numerous health benefits. If you’re a fan of sourdough and are looking to elevate your baking game, Spice & Zest Premium Sourdough Starter is the perfect choice. In this blog post, we’ll guide you through using this exceptional starter and provide you with a delightful recipe to bake sourdough challah.

Some Key Benefits of Sourdough Challah:

  1. Enhanced Digestibility: Sourdough bread, including sourdough challah, undergoes a fermentation process that breaks down gluten and other complex carbohydrates. This makes it easier to digest for individuals with gluten sensitivity or intolerance.
  2. Improved Nutritional Profile: Sourdough bread is rich in nutrients like B vitamins, iron, and minerals due to the fermentation process. The use of Spice & Zest Premium Sourdough Starter enhances the nutritional benefits of your homemade sourdough challah.
  3. Healthier Bread Option: Unlike commercially produced bread that often contains additives and preservatives, baking your own sourdough challah allows you to have full control over the ingredients. This means you can avoid artificial additives and choose high-quality, organic ingredients for a healthier bread option.
  4. Unique Flavor and Aroma: Sourdough challah has a distinct tangy flavor and aroma that comes from the natural fermentation process.
  5. Longer Shelf Life: Sourdough bread has a longer shelf life compared to regular bread due to the acidity created during fermentation. This means your sourdough challah can stay fresh for a longer period, allowing you to enjoy it over several days.
  6. Artisanal and Homemade: Baking sourdough challah allows you to create a homemade, artisanal bread that is sure to impress your family and friends. The process of creating and shaping the challah is a rewarding and satisfying experience.
  7. Versatility: Sourdough challah is a versatile bread that can be enjoyed in various ways. Use it for sandwiches, toast, French toast, or simply enjoy it on its own with butter or your favorite spreads.

How To Activate Dried Sourdough Starter?

Part 1: Using Spice & Zest Premium Sourdough Starter Before you begin, make sure you have the following ingredients and equipment:

  • Spice & Zest Premium Sourdough Starter
  • Bread flour White and Whole Wheat Flour
  • Water
  • Glass Jar or bowl
  • Jar cover or plastic wrap or kitchen towel
  • Kitchen scale
  • Dough scraper
  • Baking parchment paper
  • Baking sheet or loaf pan

Step 1: Activating the Sourdough Starter

  1. Take your Spice & Zest Premium Sourdough Starter out of the refrigerator and let it come to room temperature.
  2. In a large mixing bowl, open the small pack of Spice & Zest starter full pack of sourdough starter with 32 grams of white flour and 8 grams of wholewheat flour and 40 grams of water.
  3. Stir the mixture until well combined, cover the jar or bowl with cove or plastic wrap or a kitchen towel, and let it sit at room temperature for 12 hours.

Step 2: Building the Levain

  1. Remove most of the sourdough from jar or bowl, just leave in jar about 1 tablespoon of active starter and repeat the same process activated sourdough starter with 40 grams of flour and 40 grams of water.
  2. Mix well until all the ingredients are fully incorporated.
  3. Cover the jar or bowl again and let it ferment at room temperature for 2-3 days. The levain should become puffy and doubled in size.

Part 2: Sourdough Challah Recipe Now that your sourdough starter is activated and the levain is ready, let’s move on to the sourdough challah recipe.

Ingredients:

  • 450 grams white wheat bread flour
  • 50 grams whole wheat flour
  • 100 g Active sourdough starter (bubbly sourdough starter)
  • 10 grams salt
  • 375 g Warm water (350 for initial dough+25 for when adding salt)
  • Egg wash (1 egg mixed with a tablespoon of water)

Instructions

  • Feed your starter 6-8 hours before baking.

Preparing the dough

  • In a large bowl, combine 100g leaven and 350g of water and mix well.
  • Add the whole wheat and bread flours and mix until well incorporated.

Autolyse

  • Cover the bowl and leave it to rest for 30-60 minutes. This step allows the gluten to develop without the interruption of salt.
  • After 30-60 min of rest, add 25 g of water and 10g salt, and knead until the salt and water are combined into dough.

Step 2: First Rise

  • Cover and set the bowl in a warm area (75-80 degrees) for 3 to 4 hours or for 6-8 hours in a cooler place (during the winter season, you can put it in a turned-off oven with a hot pan of water, or next to the stovetop near a pot of simmering water).
  • During the bulk rise, perform stretch and folds every 30-60 minutes. Stretching and folding the dough allows the gluten to strengthen and develop without harsh kneading, which would knock out the gas bubbles that develop during fermentation. Towards the last hour of the bulk ferment, fold the dough more gently to avoid pressing gas out of the dough.
  • Bench Rest
  • Scoopt the dough onto the countertop.
  • Lightly flour the top of the dough. Very gently turn over the dough so the floured side is face down, and fold the dough on all 4 ends, gently shaping it into a round boule.
  • Leave the dough to rest for 20 minutes. The edges should be round and thick (it’s ok if it flattens a little) but they should not taper off. If they do taper or flatten off, reshape and let sit for another 20 minutes (this is like doing another set of folds during the bulk rise).

Step 3: Shaping the Challah

  1. Shaping
  2. Sprinkle a towel lined bowl or a banneton with a 50/50 blend of rice and white flours.
  3. Fold the bottom third up, right side one third over, left side third over, top third over and then roll the entire loaf over and gently pull toward you, using tension to form the loaf. Place in the prepared, flour dusted bowl.
  4. Let rise for 3 to 4 hours at room temp or place in refrigerator for up to 12 hours (this is known as ‘retarding the dough’- it slows down the rising process while allowing deeper flavor to develop).

Baking

  • Place your Dutch oven in the oven and preheat the oven to 500°F.
  • Gently place the dough into the Dutch oven and score the top of the bread.
  • Bake at 500°F, covered, for 20 minutes.
  • Remove lid, lower temperature to 450° and continue to bake for an additional 20 – 30 minutes until crust is a rich, dark amber color and sounds hollow when you knock it.
  • Let it cool on a wire rack before slicing.

Step 7: Cooling and Enjoying

  1. Remove the baked challah from the oven and let it cool on a wire rack for at least 30 minutes before slicing.
  2. Once cooled, slice and serve your delicious sourdough challah as desired. It’s perfect for sandwiches, toasting, or enjoying on its own!

Conclusion: Using Spice & Zest Premium Sourdough Starter provides an excellent foundation for baking flavorful and nutritious sourdough bread. By following the steps outlined above, you can easily activate the starter and create a delectable sourdough challah. Experiment with different variations, such as adding seeds or dried fruits, to customize your challah according to your preferences. Enjoy the process and the delightful aroma of freshly baked sourdough challah in your kitchen!

acai

The Best Recipe for Acai Bowls and Its’ Health Benefits

Introduction: Acai bowls have gained immense popularity in recent years for their delicious taste and numerous health benefits. These vibrant and refreshing bowls are made with acai berries, which are packed with antioxidants and essential nutrients. In this blog, we will share the best recipe for an acai bowl and delve into the many benefits of incorporating this superfood into your diet.

The Recipe: Ingredients:

  • 2 packs of frozen acai berry puree (unsweetened)
  • 1 ripe banana
  • 1/2 cup of frozen mixed berries (blueberries, strawberries, raspberries)
  • 1/2 cup of almond milk (or any milk of your choice)
  • 1 tablespoon of honey or maple syrup (optional)
  • Toppings: sliced fresh fruits (bananas, berries, mangoes), granola, shredded coconut, chia seeds, and a drizzle of nut butter

Instructions:

  1. Break the frozen acai berry puree into small chunks.
  2. In a blender, add the acai chunks, ripe banana, frozen mixed berries, almond milk, and sweetener if desired.
  3. Blend on high speed until smooth and creamy. You may need to stop and scrape down the sides of the blender to ensure all the ingredients are well incorporated.
  4. Pour the acai mixture into a bowl.
  5. Top with your favorite toppings, such as fresh fruit slices, granola, shredded coconut, chia seeds, and a drizzle of nut butter.
  6. Serve immediately and enjoy!

Health Benefits of Acai Bowls:

  1. Rich in Antioxidants: Acai berries are known for their exceptional antioxidant content. Antioxidants help combat oxidative stress and reduce inflammation in the body, which can contribute to chronic diseases. The high levels of anthocyanins, a type of antioxidant, in acai berries give them their deep purple color and provide powerful health benefits.
  2. Supports Heart Health: Acai berries are heart-healthy due to their high content of monounsaturated fats, fiber, and plant sterols. These components can help lower cholesterol levels, reduce the risk of heart disease, and improve overall cardiovascular health.
  3. Boosts Immune System: The antioxidants, vitamins, and minerals in acai berries help strengthen the immune system, protecting the body against infections and diseases. Acai bowls can be a tasty way to fortify your immune system and support overall well-being.
  4. Enhances Digestive Health: The fiber content in acai berries aids digestion and promotes a healthy gut. It helps prevent constipation, supports regular bowel movements, and contributes to a balanced and thriving gut microbiome.
  5. Provides Energy and Satiety: Acai bowls are a great source of natural energy due to their carbohydrate content. The combination of complex carbohydrates, healthy fats, and protein in the toppings and added ingredients helps provide sustained energy levels and keeps you feeling full and satisfied.
  6. Supports Skin Health: The antioxidants in acai berries help protect the skin from damage caused by free radicals, which can contribute to premature aging and skin conditions. Consuming acai bowls can contribute to a healthy, radiant complexion.

Conclusion: Acai bowls offer a delightful and nutritious way to start your day or enjoy as a refreshing snack. With their antioxidant-rich nature and numerous health benefits, they are a fantastic addition to a well-balanced diet. By incorporating this best recipe for an acai bowl into your routine, you can savor the delicious taste while reaping the rewards of improved heart health, boosted immune system, enhanced digestion, increased energy, and radiant skin. Embrace the goodness of acai berries and enjoy the many benefits of this superfood in a bowl!

2-protein-bars

Homemade High-Protein Bars: Fuel Your Active Lifestyle with Delicious DIY Snacks

Introduction: When it comes to maintaining an active lifestyle, having nutritious and convenient snacks on hand is essential. Commercial protein bars can be expensive and often contain additives or high levels of added sugars. Why not take matters into your own hands and bake your own high-protein bars? Not only will you have control over the ingredients, but you’ll also be able to customize them to suit your taste preferences. In this blog, we’ll guide you through an easy and delicious recipe for homemade high-protein bars that will keep you energized and satisfied throughout the day.

  1. The Power of Protein: Protein is the building block of muscles and plays a vital role in muscle recovery and growth. By making your own high-protein bars, you can ensure an adequate protein intake to support your active lifestyle. Choose a protein powder that aligns with your dietary preferences and goals, such as whey, soy, or plant-based options like pea or hemp protein.
  2. Gather Your Ingredients: To create your homemade high-protein bars, you’ll need a combination of protein powder, rolled oats, nut butter, honey or maple syrup, milk, nuts, dried fruit, dark chocolate chips, vanilla extract, cinnamon, and salt. These ingredients will provide a balance of protein, healthy fats, complex carbohydrates, and natural sweetness.
  3. Mix and Customize: In a large mixing bowl, combine the dry ingredients such as rolled oats, protein powder, nuts, dried fruit, dark chocolate chips, cinnamon, and salt. Then, in a separate bowl, heat and mix the wet ingredients consisting of nut butter, honey/maple syrup, milk, and vanilla extract. Pour the wet mixture into the dry ingredients and mix until well combined. Feel free to add your favorite mix-ins like shredded coconut, seeds, or spices to personalize the bars.
  4. Bake and Let Cool: Transfer the mixture into a lined baking dish or pan, pressing it down firmly and evenly. Bake in a preheated oven until golden brown around the edges. Once baked, allow the bars to cool completely in the pan before cutting them into individual bars or squares. This step ensures that they maintain their shape and texture.
  5. Storage and Enjoyment: Store your homemade high-protein bars in an airtight container or individually wrap them for convenience. They can be kept at room temperature for a few days or refrigerated for longer shelf life. Grab one whenever you need a quick and nourishing snack to fuel your active lifestyle.

Conclusion: By preparing your own homemade high-protein bars, you take control of your nutrition and snack choices. These DIY snacks offer a balance of protein, healthy fats, and carbohydrates, making them ideal for refueling and recovering after workouts or as a convenient on-the-go option. Experiment with different protein flavors, mix-ins, and textures to discover your favorite combinations. Say goodbye to store-bought protein bars and say hello to delicious, customized, and nutritious treats that support your active lifestyle.

Here’s a recipe for homemade high-protein bars that you can bake:

Ingredients:

  • 1 cup rolled oats
  • 1 cup protein powder (your choice of flavor)
  • 1/2 cup nut butter (such as almond butter or peanut butter)
  • 1/4 cup honey or maple syrup
  • 1/4 cup milk (dairy or plant-based)
  • 1/4 cup chopped nuts (such as almonds, walnuts, or cashews)
  • 1/4 cup dried fruit (such as raisins, cranberries, or chopped dates)
  • 1/4 cup dark chocolate chips (optional)
  • 1 teaspoon vanilla extract
  • 1/2 teaspoon cinnamon (optional)
  • Pinch of salt

Instructions:

  1. Preheat your oven to 350°F (175°C) and line a baking dish or pan with parchment paper.
  2. In a large mixing bowl, combine the rolled oats, protein powder, chopped nuts, dried fruit, dark chocolate chips, cinnamon (if using), and salt. Mix well to ensure even distribution of ingredients.
  3. In a separate microwave-safe bowl, heat the nut butter and honey/maple syrup together for about 30 seconds until they become slightly runny. Stir in the milk and vanilla extract.
  4. Pour the wet mixture into the dry ingredients and mix thoroughly until everything is well combined. The mixture should be sticky and hold together when pressed.
  5. Transfer the mixture into the lined baking dish or pan. Press it down firmly and evenly using the back of a spoon or your hands.
  6. Bake in the preheated oven for approximately 15-20 minutes or until the edges turn golden brown.
  7. Remove from the oven and let it cool completely in the pan before cutting into bars or squares.
  8. Once cooled, store the protein bars in an airtight container or individually wrap them for convenience.

Feel free to customize this recipe by adding additional ingredients like seeds (chia, flax, or sunflower), shredded coconut, or spices (such as nutmeg or cardamom) to suit your taste preferences.

These homemade high-protein bars are perfect for a quick and nutritious snack on the go or as a post-workout treat. Make a batch in advance and enjoy the benefits of a wholesome, protein-packed snack that you can easily incorporate into your active lifestyle.

cardiovascular

Top Supplements and Foods for Cardiovascular Health and Workout

Introduction: Maintaining a healthy cardiovascular system is crucial for overall well-being and optimal athletic performance. A combination of regular exercise and a balanced diet can go a long way in supporting cardiovascular health. In addition to exercise and a healthy diet, certain supplements and foods can provide added benefits by promoting heart health and enhancing workout performance. In this blog, we will explore some of the top supplements and foods that can support cardiovascular health and improve your workout routine.

  1. Omega-3 Fatty Acids: Omega-3 fatty acids are essential fats found in fatty fish like salmon, mackerel, and sardines. They have been extensively studied for their heart-protective properties. Omega-3s can help lower triglyceride levels, reduce inflammation, and support overall heart health. If you’re not a fan of fish, consider taking a high-quality fish oil supplement to ensure an adequate intake of omega-3 fatty acids.
  2. Coenzyme Q10 (CoQ10): Coenzyme Q10 is a naturally occurring compound that plays a vital role in energy production within the cells. It also acts as a potent antioxidant, protecting the cells from damage. CoQ10 levels tend to decrease with age, and supplementation can help support cardiovascular health. CoQ10 supplements have been shown to improve heart function, reduce oxidative stress, and lower blood pressure.
  3. Nitric Oxide Boosters: Nitric oxide is a molecule that helps relax and widen blood vessels, leading to improved blood flow. This enhanced circulation can benefit both cardiovascular health and workout performance. Nitric oxide boosters, such as beetroot juice or supplements containing L-arginine or L-citrulline, can increase nitric oxide production, leading to improved exercise endurance, reduced fatigue, and better overall cardiovascular function.
  4. Caffeine: Caffeine is a natural stimulant that can enhance both mental and physical performance. It stimulates the central nervous system, promoting alertness and reducing fatigue. Consuming caffeine before a workout has been shown to improve endurance, increase focus, and delay the onset of fatigue. Moderate caffeine intake from sources like coffee, tea, or pre-workout supplements can provide an energy boost for your workouts.
  5. Branched-Chain Amino Acids (BCAAs): BCAAs, including leucine, isoleucine, and valine, are essential amino acids that play a crucial role in muscle energy metabolism. They can enhance endurance by reducing muscle fatigue and promoting muscle recovery. BCAA supplements are commonly used by athletes and can be taken before or during exercise to provide a readily available source of energy for muscles. Additionally, BCAAs can help preserve muscle mass during intense workouts or periods of calorie restriction.
  6. Green Leafy Vegetables: Leafy green vegetables like spinach, kale, and Swiss chard are packed with nutrients that support heart health. They are excellent sources of vitamins, minerals, and antioxidants, including vitamin K, magnesium, and potassium. These nutrients can help regulate blood pressure, reduce inflammation, and improve overall cardiovascular function. Aim to include a variety of leafy greens in your diet regularly.
  7. Berries: Berries, such as blueberries, strawberries, and raspberries, are rich in antioxidants called anthocyanins. These antioxidants have been shown to reduce the risk of heart disease by improving blood vessel function, reducing inflammation, and protecting against oxidative stress. Berries are also a great source of fiber, which can help lower cholesterol levels. Add a handful of berries to your morning oatmeal or enjoy them as a snack.
  8. Dark Chocolate: Indulging in a small amount of dark chocolate with a high cocoa content can have heart-healthy benefits. Dark chocolate is rich in flavonoids, which have been associated with a reduced risk of heart disease. Flavonoids can help lower blood pressure, improve blood flow, and reduce the risk of blood clots. Choose dark chocolate with at least 70% cocoa content and enjoy it in moderation.

Conclusion: Incorporating these top supplements and foods into your routine can provide valuable support for cardiovascular health and improve your workout performance. Remember, however, that supplements should not replace a healthy diet and lifestyle. They should be used in conjunction with regular exercise and a well-balanced diet for maximum benefits. Consult with a healthcare professional before starting any new supplements, especially if you have underlying health conditions or are on medication. By prioritizing cardiovascular health and making smart dietary choices, you can pave the way for a stronger heart and a fitter body.

magnesium

4 Most Common Forms of Magnesium: Which Is Best For Your Goals?

Introduction: Magnesium is a vital mineral that plays a crucial role in various bodily functions. It is involved in over 300 biochemical reactions and is essential for maintaining optimal health. While magnesium can be obtained through a balanced diet, many people may consider supplementation to meet their daily requirements. However, with numerous forms of magnesium available, it’s important to understand which form suits your goals the best. In this blog, we will explore the four most common forms of magnesium and guide you in selecting the right one for your needs.

  1. Magnesium Citrate: Magnesium citrate is one of the most widely used forms of magnesium. It is easily absorbed by the body and has a laxative effect, making it useful for those with constipation. Additionally, it may help with muscle cramps, promote relaxation, and support digestion. However, its bowel-loosening properties can be excessive for some individuals.
  2. Magnesium Glycinate: Magnesium glycinate is a chelated form of magnesium that is highly bioavailable and well-tolerated. It is less likely to cause gastrointestinal issues and is often recommended for individuals with digestive sensitivities. This form of magnesium is known for its calming properties, making it beneficial for sleep support and relaxation.
  3. Magnesium Oxide: Magnesium oxide has a high magnesium content and is commonly used as a supplement. While it has good absorption, it can have a laxative effect due to the release of oxygen in the intestines. It is often used for short-term relief of constipation but may not be ideal for those seeking long-term supplementation.
  4. Magnesium L-Threonate: Magnesium L-threonate is a newer form of magnesium that has gained attention for its ability to penetrate the blood-brain barrier and enhance brain function. It has been studied for its potential benefits in improving memory, cognitive performance, and overall brain health. This form of magnesium is especially beneficial for individuals looking to support mental clarity and focus.

How much magnesium should we get daily? The recommended daily intake of magnesium varies depending on age, sex, and specific health conditions. The average adult male should aim for around 400-420 mg per day, while the average adult female should aim for 310-320 mg per day. Pregnant or lactating women may require higher amounts. However, it’s important to consult with a healthcare professional to determine the appropriate dosage for your individual needs.

Foods high in magnesium: Incorporating magnesium-rich foods into your diet is an excellent way to ensure you meet your daily requirements. Some of the best food sources of magnesium include:

  1. Dark leafy greens: Spinach, kale, and Swiss chard are rich in magnesium.
  2. Nuts and seeds: Almonds, cashews, pumpkin seeds, and flaxseeds are high in magnesium.
  3. Legumes: Black beans, chickpeas, and lentils are good sources of magnesium.
  4. Whole grains: Brown rice, quinoa, and oats provide magnesium along with other essential nutrients.
  5. Fish: Salmon, mackerel, and halibut contain magnesium, as well as omega-3 fatty acids.
  6. Avocado: Apart from being a great source of healthy fats, avocados are also rich in magnesium.
  7. Dark chocolate: Enjoying a small piece of dark chocolate can provide a magnesium boost.

Please note! Foods high in magnesium may provide a substantial amount of the mineral, but it’s important to note that the exact magnesium content can vary. This variability arises from the fact that the magnesium levels in food depend on how and where the food was grown. The mineral content of plants is influenced by the magnesium levels in the soil they are cultivated in. Plants grown in magnesium-rich and fertile soil tend to have higher magnesium content. However, it is challenging to ascertain the precise soil conditions for each food item when purchasing from grocery stores. Therefore, while the foods mentioned in the previous section are generally considered good sources of magnesium, the actual magnesium content may differ based on the specific growing conditions of the produce.

Conclusion: Choosing the right form of magnesium and ensuring you meet your daily requirements is crucial for overall health and well-being. Whether you opt for magnesium citrate, glycinate, oxide, or L-threonate, consider your goals and consult with a healthcare professional to make an informed decision. Remember to also incorporate magnesium-rich foods

wepik-export-20230601204023NoXu

Title: DIY Hand Sanitizer: Quick and Effective Recipes for Clean Hands

Introduction:
In today’s world, maintaining good hand hygiene has become more crucial than ever. Hand sanitizers are a convenient and effective way to keep your hands clean when soap and water are not readily available. While commercial hand sanitizers are widely accessible, making your own can be a fun and cost-effective alternative. In this blog, we’ll explore two simple recipes for DIY hand sanitizers that you can easily prepare at home: The Quick Recipe and The Better Spray Recipe.

The Quick Recipe:

Ingredients:

Instructions:

  1. Gather your ingredients and ensure all the utensils and containers are clean.
  2. In a mixing bowl, combine 3 parts isopropyl alcohol with 1 part aloe vera gel. For example, if you use 3 cups of isopropyl alcohol, you’ll need 1 cup of aloe vera gel.
  3. Stir the mixture well until the ingredients are thoroughly blended.
  4. Add a few drops of tea tree oil or the essential oil you love to the mixture for a pleasant scent and additional antimicrobial properties. Stir again to incorporate the oil.
  5. Transfer the hand sanitizer into a suitable container, preferably one with a pump or flip-top lid for easy dispensing.
  6. Label the container clearly with the ingredients and date of preparation.

Usage:
Apply a small amount of the hand sanitizer to the palm of your hand and rub your hands together, ensuring you cover all surfaces until the sanitizer evaporates. Remember to follow the recommended guidelines for hand sanitization duration, typically around 20 seconds.

The Better Spray Recipe:

Ingredients:

  • Isopropyl alcohol (at least 99% concentration)
  • Glycerol or glycerin
  • Hydrogen peroxide
  • Distilled water
  • Spray bottle

Instructions:

  1. As with the previous recipe, start by ensuring all utensils and containers are clean.
  2. In a mixing bowl, 12 fluid ounces of alcohol with 2 teaspoons of glycerol or glycerin. Glycerol helps prevent your skin from drying out due to the high alcohol content.
  3. Add 1 tablespoon of hydrogen peroxide to the mixture. Hydrogen peroxide helps eliminate any potential contaminants.
  4. Gradually pour in 3 fluid ounces of distilled water. This step ensures the hand sanitizer reaches the desired consistency and reduces the overall alcohol concentration to a safe level.
  5. Stir the mixture thoroughly until all the ingredients are well incorporated.
  6. Using a funnel, carefully transfer the mixture into a clean spray bottle.
  7. Label the bottle with the ingredients and preparation date.

Usage:
Spray a sufficient amount of the hand sanitizer onto your hands, ensuring you cover all surfaces. Rub your hands together until dry, allowing the sanitizer to effectively eliminate germs and bacteria.

Conclusion:
While making your own hand sanitizer can be a fun and convenient option, it’s essential to remember that commercially manufactured sanitizers undergo rigorous testing to ensure their safety and effectiveness. DIY hand sanitizers should only be used when commercial alternatives are unavailable. Additionally, it’s crucial to follow the recommended guidelines for hand hygiene, which include regular handwashing with soap and water whenever possible.

Stay safe, maintain good hygiene practices, and keep your hands clean with these DIY hand sanitizer recipes!